A prototype isn't a preview of your final product. It's a targeted experiment designed to answer one critical business or user question. Forget pixel-perfect mockups; the senior PMs I've hired at places like Google and Meta are obsessed with one thing: speed of validated learning. Wasted engineering cycles are your most expensive resource, and a smart prototype is your best defense against burning them.
This guide provides the exact frameworks I use to mentor PMs, moving them from building pretty designs to shipping impactful products. You'll learn to define testable hypotheses, select the right tools, and run feedback loops that de-risk your roadmap and accelerate your career.
The Prototyping Framework for Modern Product Managers
The single biggest mistake I see aspiring PMs make is falling in love with building beautiful, high-fidelity prototypes that don't answer any real questions. They become design exercises, not learning tools. At FAANG-level companies, business impact always trumps visual polish.
Every prototype must start with the question: "What is the single most important hypothesis I need to test right now?"
Your answer will almost always fall into one of two buckets, and that answer dictates your entire approach. This decision tree is how top-tier PMs think.
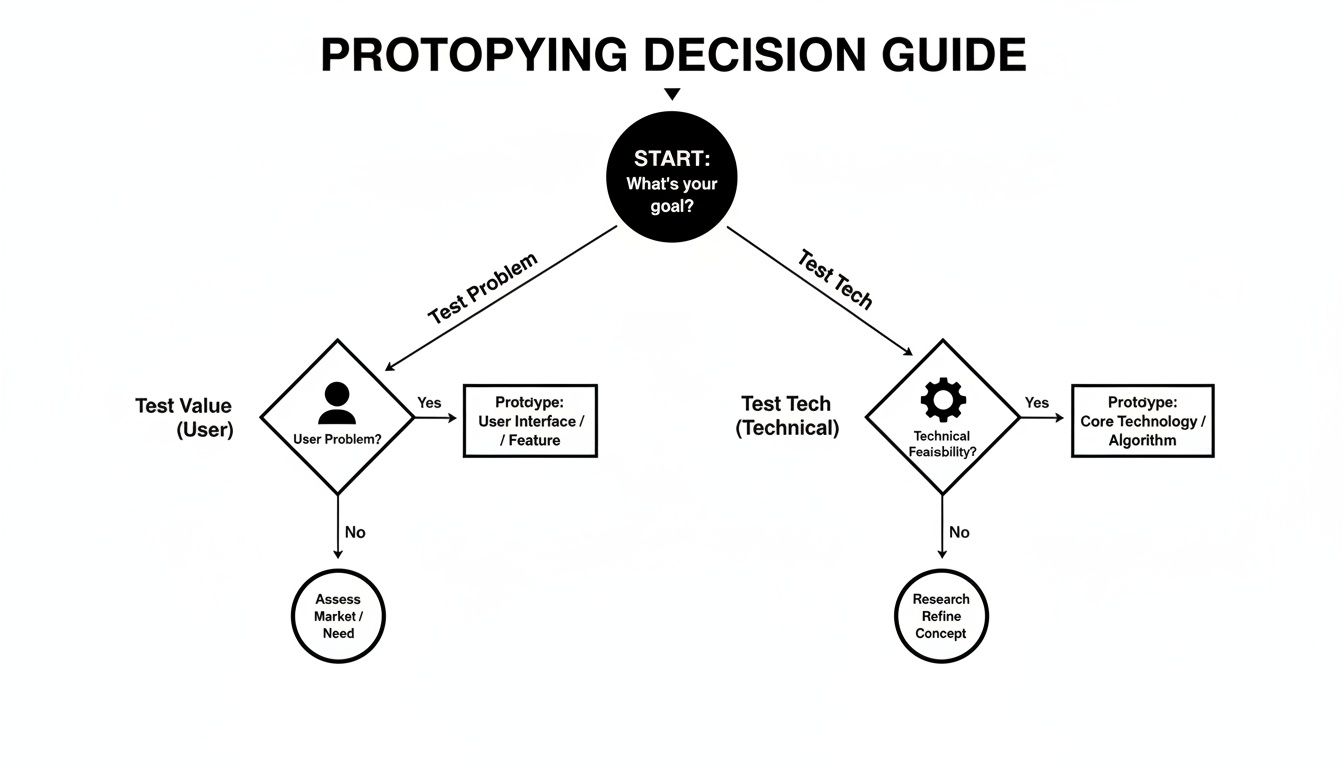
Let your objective determine the fidelity. This stops you from over-investing time and effort in the wrong areas.
Here’s how this plays out in the real world:
-
Testing a Value Proposition (User Risk): Does the user understand this feature? Do they even want it? Does it solve their problem? For this, your prototype needs to focus on the user journey and the critical path to value. This is where you use Figma, paper sketches, or even a slide deck to test desirability.
-
Testing a Technical Assumption (Feasibility Risk): Can our systems actually handle this? What are the API limitations? Will this new AI model from OpenAI integrate with our legacy tech stack? Here, your "prototype" might be a scrappy proof-of-concept (PoC) cobbled together by an engineer—often with no user-facing UI at all.
This distinction is the absolute foundation of an effective prototyping strategy. It forces you to align your discovery work directly with business outcomes. To get a better handle on this critical first stage, it’s worth exploring the broader context of what product discovery is and how it shapes your entire development process.
Prototype Fidelity Decision Framework
Choosing the right fidelity can feel like a tough call, but it's simpler than you think. This table is a tactical cheat sheet I give to my teams to help them decide where to focus their energy based on what they're trying to accomplish.
| Fidelity Level | Primary Goal | Key Tools & Cost | Typical Timeline | Best For (By PM Level) |
|---|---|---|---|---|
| Paper | Exploring concepts, user flows, and basic layouts | Pen & paper (Free) | 1-2 hours | Aspiring/Entry: The fastest way to show initiative and visualize ideas without needing design software. |
| Low-Fi Digital | Testing navigation, information architecture, and core user tasks | Balsamiq ($12/mo), Whimsical (Free tier) | 1-2 days | Entry/Mid-Career: Perfect for getting quick feedback on usability and flow without getting bogged down in visual design. |
| High-Fi Interactive | Validating usability, getting stakeholder buy-in, and testing specific interactions | Figma (Free tier), Sketch, Adobe XD | 3-7 days | Mid-Career/Senior: Essential for user testing before dev handoff and presenting a near-final vision to leadership. |
| Functional/No-Code | Testing with real data, API integrations, and complex logic. | Bubble ($29/mo), Webflow ($23/mo) | 1-2 weeks | Senior/Lead PM: De-risks major technical bets and provides high-conviction data for roadmap planning. |
Ultimately, the goal is to pick the lowest-fidelity option that can effectively answer your most pressing question. Don't build a high-fidelity masterpiece when a simple paper sketch would have told you the same thing in a fraction of the time.
Defining Your Learning Goals and Success Metrics
A prototype without clear objectives is just an art project. Before anyone on your team writes a line of code or draws a single wireframe, you must define exactly what you need to learn. This isn't just PM best practice; it's the core discipline that separates high-impact work from expensive distractions.
Your starting point is always a learning hypothesis. This is a simple, testable statement that turns your prototype from a design artifact into a real experiment.

From Vague Ideas to Testable Hypotheses
Most initial requests for a prototype sound like a feature description. As the PM, your job is to translate that request into a question the prototype can actually answer.
Here’s a classic scenario:
- Vague Idea: "We need a new AI-powered search feature."
- Learning Hypothesis (for an AI PM): "We believe that by using a large language model (LLM) to provide natural language search results instead of a keyword list, we will reduce the time it takes for users to find a target document by 50% and increase search success rate from 70% to 90%."
See the difference? Now you're not just building a feature. You're testing whether a specific technology directly moves critical business metrics. You've given your work purpose. For a deeper dive on this, check out this great a mobile app prototyping guide focused on idea validation.
Setting Specific Success Metrics
Once you have a solid hypothesis, you define what success looks like. How will you know if the prototype "worked"? Get beyond squishy feedback like "users liked it" and down to hard, quantifiable data.
PM Leader Insight: The success metrics for your prototype must be direct proxies for future business impact. If you can't draw a straight line from a metric like 'time on task' to a higher-level KPI like 'customer lifetime value' or 'user retention,' you're measuring the wrong thing.
Let's break down how to set these metrics for different products.
Example: B2B SaaS Product
Goal: Prototype a new data visualization dashboard for enterprise clients.
- Primary Metric: Time-to-Insight. How quickly can a user find "monthly recurring revenue from new customers"? Target: Reduce from 90 seconds to under 30 seconds.
- Secondary Metric: Error Rate. What percentage of users click the wrong element first? Target: Drop from 40% to less than 10%.
Example: Consumer Mobile App
Goal: Prototype a new one-click checkout feature for an e-commerce app.
- Primary Metric: Task Completion Rate. What percentage of users who start checkout finish the purchase in the prototype? Target: Lift completion from 65% to over 80%.
- Secondary Metric: Perceived Effort. After use, ask users to rate difficulty on a 1-5 scale. Target: Average score of 4.5 or higher.
These metrics give you an objective ruler to measure your prototype against. This clarity is essential, especially when defining your North Star Metric to align the entire team. By framing everything with a clear hypothesis and measurable criteria, you generate validated learning that directly informs how to build a product that wins.
Choosing the Right Tools for the Job
The most common question I hear from junior PMs is, "What's the best prototyping tool?"
My answer is always the same: that's the wrong question. The right question is, "What's the right tool for the specific learning goal I have right now?" Your toolkit should be flexible, mapping directly to the fidelity you need to answer your hypothesis, not the other way around. Over-investing in a high-fidelity tool for an early-stage concept is one of the fastest ways to burn time and get emotionally attached to a bad idea.
Paper Prototyping: The Unbeatable MVP
Before you open a SaaS tool, grab a pen and paper. Paper prototyping is still the fastest, cheapest way to validate a core user flow. I've run entire design sprints at well-funded startups where the first two days were exclusively Sharpies and sticky notes.
Why it works:
- It's incredibly fast. Sketch a full user journey in under 30 minutes.
- It removes all bias. The focus is purely on flow and logic.
- It's disposable. If an idea is bad, you crumple it up and start again.
This step is a critical filter that saves you from wasting days building a digital prototype of a fundamentally flawed concept.
Low-Fidelity Digital Tools for Wireframing
Once you've validated the basic flow on paper, move into a low-fidelity digital tool like Balsamiq (starting at $12/month) or Whimsical. Its intentionally "sketchy" look keeps the focus on structure, not aesthetics. The goal isn't beauty; it's clarity.
High-Fidelity Tools: Figma and the Rise of AI
When you have high confidence in your user flow and are ready to test specific interactions, usability, and visual design, you graduate to high-fidelity tools.
Figma is the undisputed industry standard. Its collaborative features and powerful prototyping capabilities are essential for any modern product team.
However, the game is changing. The most forward-thinking PMs are now leveraging AI to accelerate this process.
- AI PM in Practice: Instead of designing from scratch, an AI PM can now use a tool like Galileo AI or v0 by Vercel with a prompt like this:
"Generate a high-fidelity, mobile-first UI for an e-commerce checkout flow. The flow should start with a cart summary screen, followed by shipping details, payment options (including Apple Pay and credit card), and a final confirmation screen. Use a minimalist design system with a primary color of #4F46E5."
This can generate a baseline prototype in minutes, not days. For a deeper look at this trend, explore these game-changing AI prototyping tools that will shape 2025.
PM Leader Insight: Your proficiency with Figma is table stakes. A senior PM at a company like Meta is expected to be an expert. Your competitive advantage will come from mastering emerging AI-powered tools to cut iteration cycles from days to hours.
When it comes to hardware, it's crucial to compare different 3D modeling software options if your product has a physical component. The right tool choice directly impacts both the cost and timeline of getting a tangible product into users' hands.
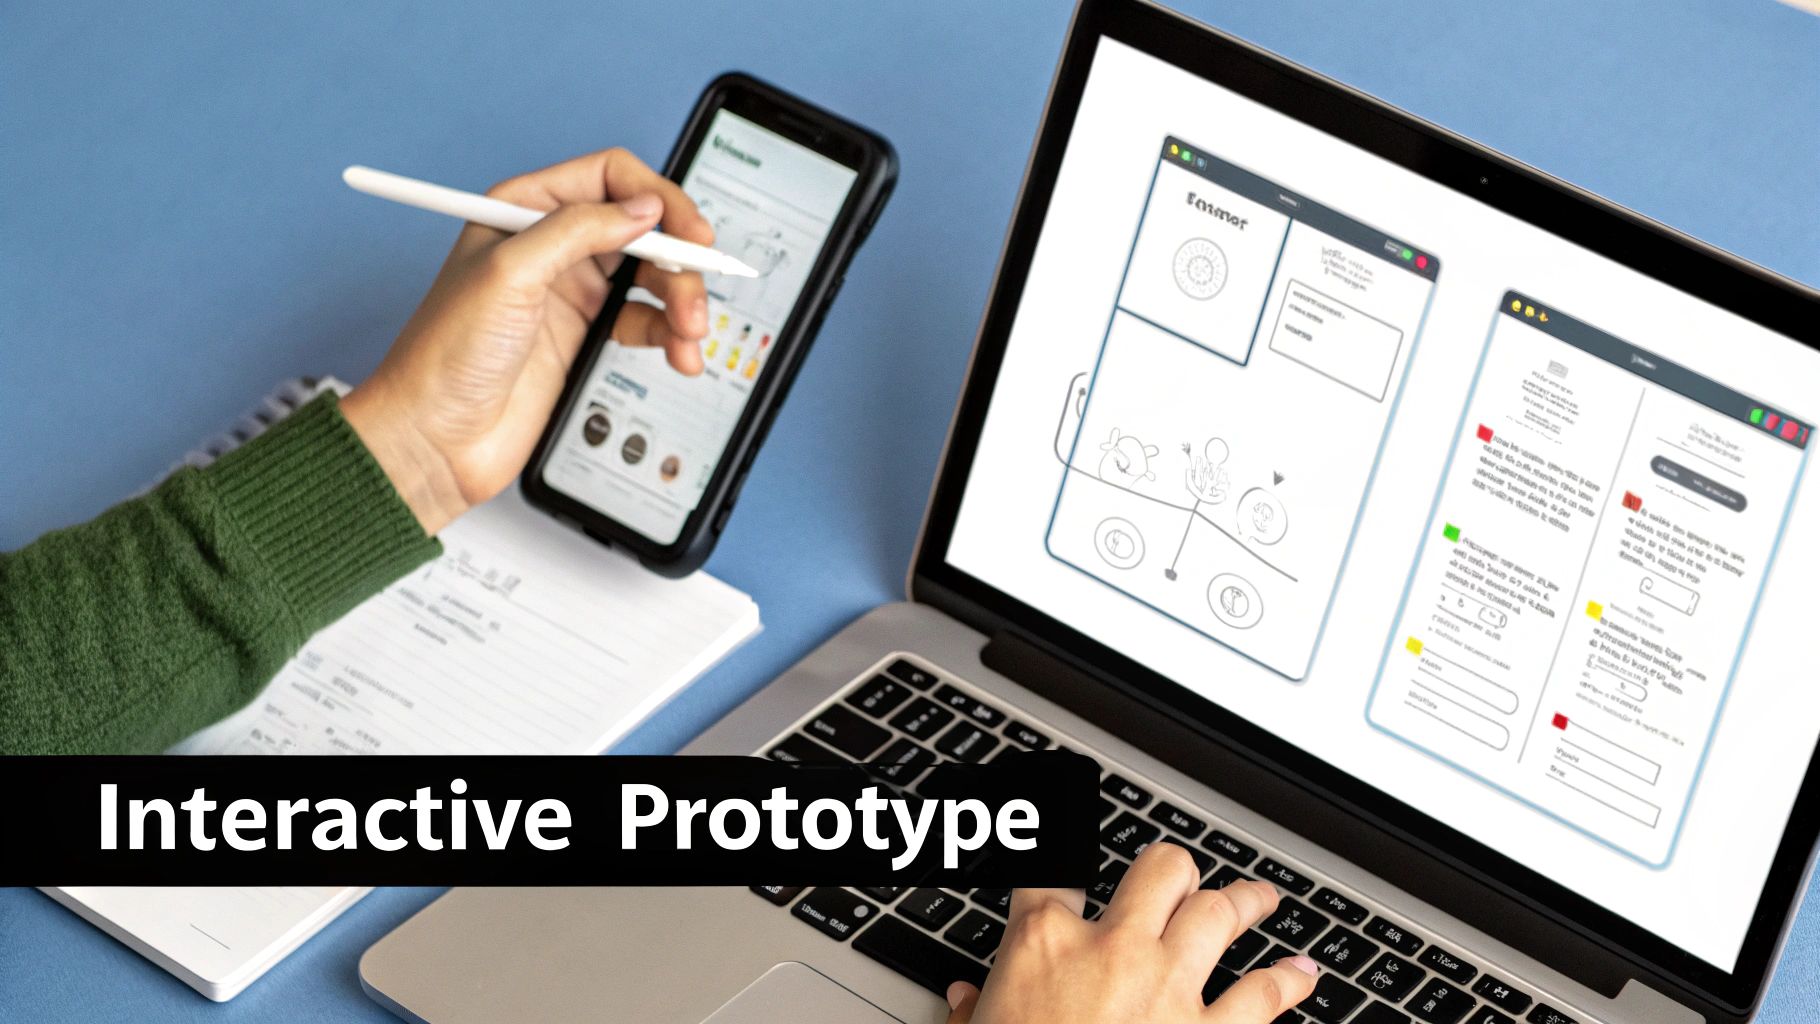
From Sketch to an Interactive Model
You have your learning goals and tools. Now it’s time to turn abstract ideas into something a user can interact with. This isn't about building a pixel-perfect masterpiece. It’s about building just enough to see if your core idea holds water. A scrappy but effective prototype you can get in front of users in three days is infinitely more valuable than a polished one that takes three weeks.
Start with the Critical Path
Before you touch a single design element, map out the critical path. This is the shortest possible journey a user needs to take to get to the "aha!" moment of your feature. If you’re prototyping a new checkout flow, the critical path is "Add to Cart" to "Purchase Confirmed." No side quests.
Defining this path is a ruthless act of prioritization. It forces you to focus on the absolute essentials. If you want to get better at this, practicing how to write effective user stories is a great way to keep your focus locked on user value.
Creating and Linking Your Screens
With the critical path defined, you can start building out the individual screens in a tool like Figma. The magic happens in "Prototype" mode, where you drag connection "noodles" to wire your static designs into a clickable experience.
A few pro-tips to speed things up in Figma:
- Use Components: Build reusable elements like buttons and headers. Edit the main component once, and it updates everywhere.
- Smart Animate: Create smooth, believable transitions to simulate screen slides or modals popping up with minimal effort.
- Leverage Plugins: Use Unsplash or Content Reel to populate your designs with realistic images and text, making your prototype feel more authentic to testers.
Beyond Figma: The Rise of Functional Prototypes
High-fidelity Figma mockups are great, but what if you need to test with real, dynamic data? This is where no-code platforms like Bubble or Webflow have become a secret weapon for product managers. These tools let you build functional prototypes that can connect to live databases or APIs.
Imagine testing a new recommendation engine by hooking your prototype up to a real user's past purchase data. The insights you get are an order of magnitude richer than what you'd learn from a static design. This is how senior PMs de-risk multi-million dollar engineering investments.
Managing Scope Creep
As you're building, you'll constantly be tempted to add "just one more little thing." This is scope creep, the mortal enemy of a fast, focused prototype. Use this gut-check matrix for any new feature idea:
| Is this feature… | On the Critical Path? | NOT on the Critical Path? |
|---|---|---|
| Essential for Learning? | Build It (P0) – This is a non-negotiable for your test. | Consider It (P1) – Only build this if you have extra time. |
| NOT Essential for Learning? | Question It (P2) – Is it really on the critical path? Re-evaluate. | Ignore It (P3) – Toss it in the backlog for a future version. |
This framework forces a conversation about your learning goals. If a feature doesn't directly help you prove or disprove your hypothesis, it doesn't belong in this prototype. Period.
Running Usability Tests and Iterating Your Prototype
A prototype sitting on your laptop is a worthless artifact. Its entire purpose is to be a catalyst for learning, and that only happens when you put it in front of a real user. The speed and quality of this feedback loop is what separates high-performing product teams from those who build beautiful, unwanted products.
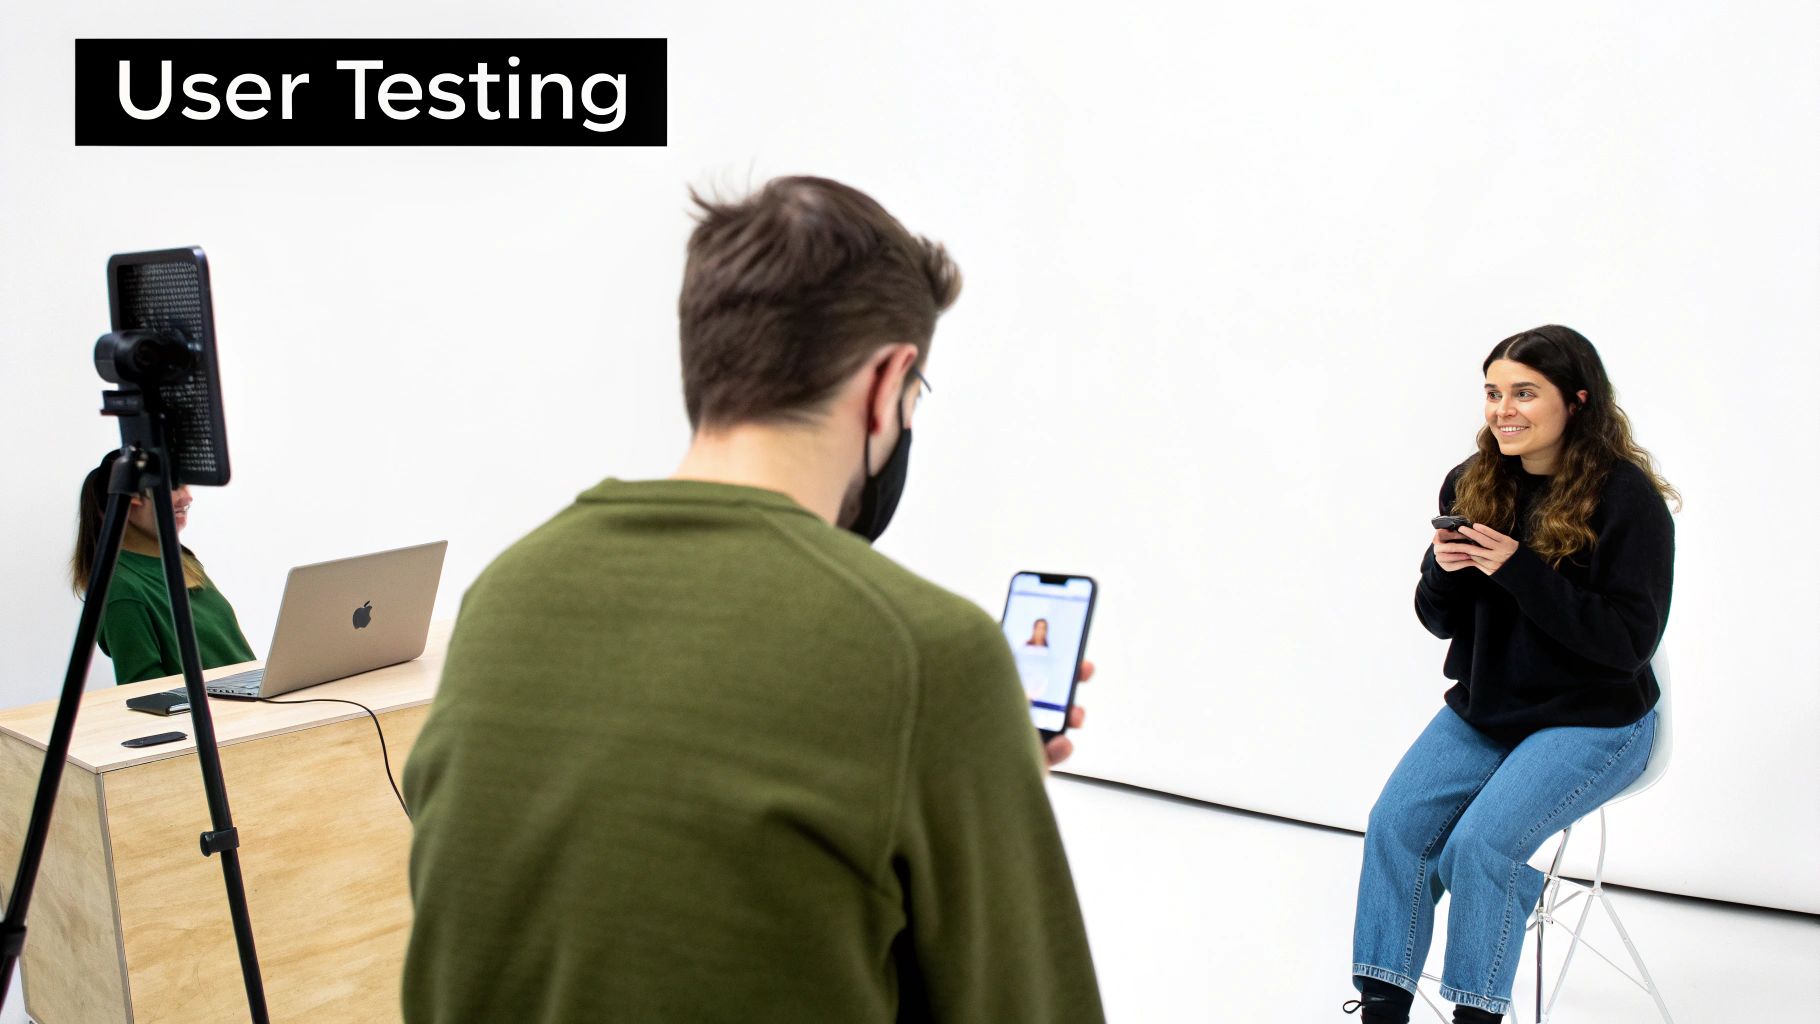
Setting Up an Effective Usability Test
First, recruit the right participants—people who represent your target user profile. You don't need dozens; five to seven users are often enough to start seeing significant patterns.
Next, create a test script to guide the session without asking leading questions.
- Bad Question (Leads the user): "Do you find this new dashboard easy to use?"
- Good Question (Task-based): "Show me how you would find last month's sales figures."
Your role is to observe, not to guide. Set up a realistic scenario and then stay quiet, encouraging the user to think aloud. Every moment of confusion is a golden learning opportunity. For a detailed playbook on this, our guide on how to conduct usability testing provides actionable templates.
From Raw Notes to Actionable Insights
After a few sessions, you'll have a sea of raw notes. Synthesize this data using an affinity mapping exercise. Write each observation on a digital sticky note and group them into themes. These clusters become your prioritized backlog for the next iteration.
PM Leader Insight: Resist the urge to fix every single issue raised. Your job is to identify the highest-leverage problems—the ones causing the most user friction. A senior PM at Netflix once told me, "We don't get paid to solve all the problems, we get paid to solve the right ones." Focus your energy there.
The rise of virtual prototyping is making this process faster and more data-rich. The market for these tools is expected to be valued at USD 6.14 billion by 2025. This trend lets teams build and test digital twins or VR/AR simulations, which has been shown to result in 25% fewer quality issues. This is especially relevant for PMs working on hardware or IoT products.
Mastering the Rapid Iteration Loop
The magic of modern prototyping tools like Figma is the ability to close the iteration loop within hours, not days. This rapid cycle is your competitive advantage.
- Test: Conduct a usability session with User A at 9 AM.
- Synthesize: Immediately debrief and identify the #1 friction point by 10 AM.
- Iterate: Open Figma and adjust the flow or component. This might take just 30-60 minutes.
- Repeat: Use the updated prototype for your 1 PM session with User B.
By the end of the day, you’ve not only identified major issues but have already tested potential solutions. This relentless, user-driven refinement is how you build a prototype that is ready for a confident engineering handoff.
Common Questions About Building a Prototype
Even the most seasoned Product Managers hit the same roadblocks when building a prototype. The process is meant to surface uncomfortable truths. Learning to navigate these moments with confidence is what separates a good PM from a future product leader.
Let's walk through the questions I see pop up time and time again.
What Is the Difference Between a Prototype and an MVP
This is the most frequent point of confusion, and getting it wrong is costly.
A prototype is an experiment designed to answer a question. Its entire purpose is learning. It could be a napkin sketch or a clickable Figma file, but it's almost never real, functional software. You build prototypes to de-risk an idea before you write production code.
An MVP (Minimum Viable Product) is the smallest version of your actual product that you can ship to real users to start delivering value and learning from real-world behavior. It has a working backend, talks to a database, and solves a core problem. It's the first step of a long journey.
PM Leader Insight: A prototype is built to be thrown away; an MVP is built to be built upon. Prototypes are for your internal team and a handful of test users. An MVP is for your first real customers. Confusing the two is a classic mistake that I screen for when interviewing PM candidates.
How Should I Handle Negative User Feedback
It stings. You've poured hours into a prototype, only to watch a user get completely lost. The gut reaction is to get defensive. Don't. Your job is to be the lead investigator, not the lead defender.
Use this framework to process it constructively:
- Isolate the "Why": Don't just hear "I don't like this." Ask "What were you expecting to happen when you clicked there?" to uncover the user's mental model.
- Look for Patterns: One user's opinion is an anecdote. The same feedback from three or more users is a pattern you cannot ignore.
- Map it to Your Hypothesis: Does this feedback invalidate your core assumption? If yes, the prototype just saved you months of building the wrong thing. That's a huge win.
- Prioritize the Fix: A user being confused by a button's label is an easy fix. A user fundamentally misunderstanding your value proposition means it's time to go back to the drawing board.
When Do I Stop Iterating and Handoff to Engineering
The short answer: you stop when the prototype has successfully validated your core learning hypothesis with a high degree of confidence.
You know you're there when you can consistently watch users fly through the critical path without major roadblocks. Your success metrics, like task completion rates, are hitting the targets you set at the beginning.
The feedback also starts to change. It shifts from "I'm totally lost" to "It would be nice if this button was a different shade of blue." When you're just polishing for the sake of polishing, you're getting diminishing returns. It's time to stop. Package up your validated learnings, add clear annotations to your high-fidelity prototype, and start working with your engineering team to translate it into a real product backlog.
Ready to dive deeper into product management and accelerate your career? Aakash Gupta's newsletter and podcast offer expert insights from over 15 years in the field, helping you master skills from prototyping to leadership. Join thousands of PMs and leaders who rely on these resources for actionable advice. Learn more at aakashg.com.